Pages

Friday, March 30, 2018

March Pretty Palettes


Hi Everyone!

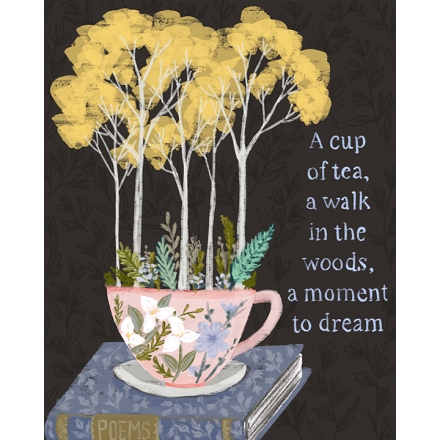
This print from Heather Powers of Humblebeads is the inspiration for this month's Pretty Palettes.  I love how she combined a cup of tea and the woods in this print.
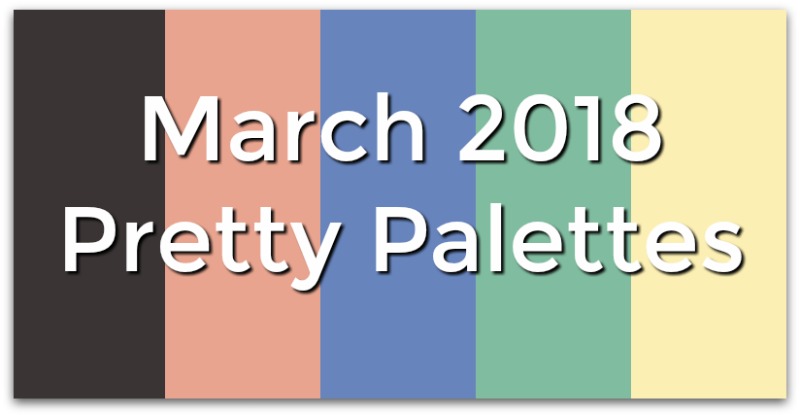

Here's the palette drawn from the above painting, and here are the beads Molly Schaller chose from Halcraft.
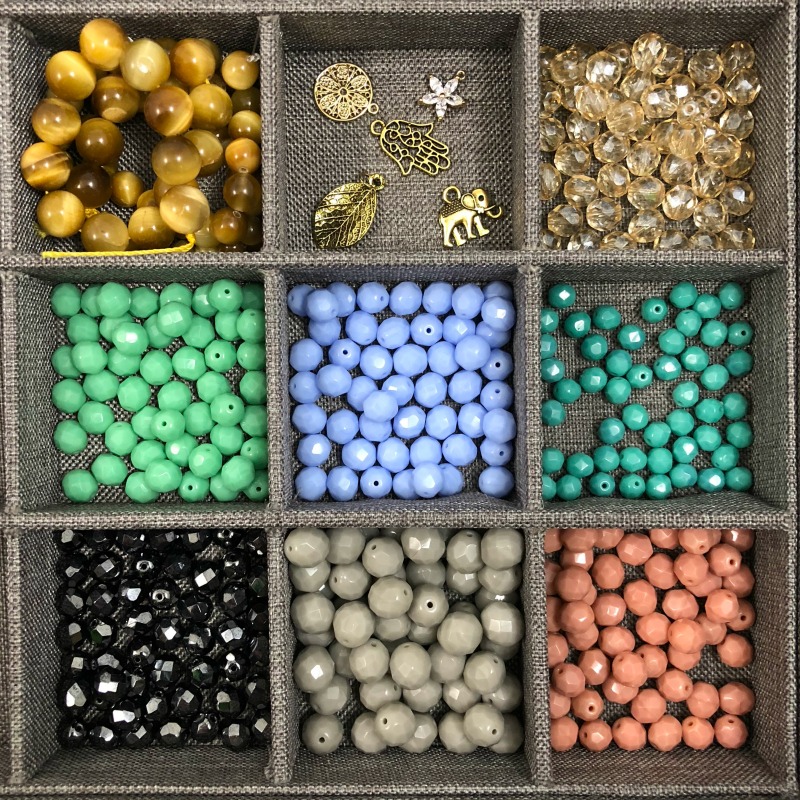


These are Czech glass beads with some golden tiger eye at the top next to the charms.  I ordered the tiger eyes, gold leaves, light turquoise, blue, turquoise, gray and pink beads.

It's a pastel springtime palette and goes perfectly with a blue bird that I ordered from Humblebeads.  I have long admired Heather's work, so this was the perfect time to order something special to go with these pretty colors.

At first, this is how I assembled the pendant:
I wasn't totally happy with it.  I wanted more color in the nest and I didn't like the brass flower hanging straight down.  So, I took it all apart and tried again.  Sometimes, I annoy myself, but that is usually the way I design!

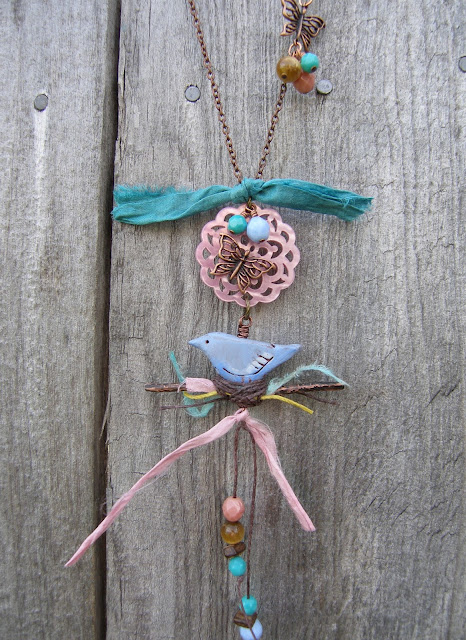
This is what evolved into my Springtime necklace.  I added some pieces of silk ribbon and twine into the waxed linen brown nest.  It sits on a copper wire branch that I hammered, dipped into liver of sulfur and then sanded.  One of my favorite buttons is attached above.  I replaced the brass butterfly with an antique copper butterfly and wired it to the button.  Then, I tied on some beads at the bottom with waxed linen and added ties of silk ribbon.  On the chain, I added another butterfly and some of the pretty Czech glass beads.  The antique copper chain ends in a Nunn design hammered copper toggle clasp.
Springtime Necklace
I bought a nice Basswood round from Walnut Hollow at my local craft store.  I like to photograph on wood; it's a nice neutral color.  White paper always comes out blue for me, so I like a more natural, neutral color.  I usually use the fences or pieces of old wood.

Here's one on an old board:
Here's one on the fence:
And, a close-up:
Maybe the gray wood is not a good match with the pastels.  What do you think?

It was so much fun playing with these lovely beads.  A special thank you to Heather Powers of Humblebeads.  I ordered this bird and another pendant.  Wonderful - but there's more - two beautiful beads and a length of turquoise silk ribbon came with my order free!

See the necklace and earrings that Molly Schaller created on the Pretty Palettes March Reveal.  And, visit the Halcraft Collection Facebook page for more inspiration.

Happy Beading and Happy Spring!
Terry


Monday, March 19, 2018

Etched Wind Chime

Hello!

It's almost spring and time for some new yard décor.  Today, I'm going to etch a wind chime with etchall® dip 'n etch.

I bought a small glass lampshade at my local hardware store.  You might be able to find one in a re-use store or in your own stash from a remodel.  This is the size you might find on a fan or bathroom vanity light.


Since I'm going to dip it into the etching solution, I found a plastic container that would fit the shade.
I put the shade into the container and poured the etchall® dip 'n etch over it.  I let it sit 15 minutes and poured the remaining etching solution back in the bottle.  (It's reusable!)

Here's how it turned out:
I like it just like that, but a little color would be nice in the garden.  I used a diluted solution of alcohol ink to paint the inside and out.  I've had good results with this before on other projects like this teacup votive and this angel.  The color holds up very well.
Now, I need to hang this in order to make a wind chime out of it.  I used a canning ring and  a metal flange from the plumbing department to create the cap.  
I glued the flange inside the canning ring and to the top of the glass shade.  I dabbed alcohol ink on the cap to match the shade.  When it was dry, I knotted beads on both sides of the cap with cotton cord to create the clapper and to hang it.  When the wind blows, the wooden bead hits the side of the bell to chime.

Here it is hanging among the rosemary in my herb garden.
I love to make decorations for the garden.  Next, I'd like to try one of those big dish flowers!  I hope you'll try it.  It's so easy with etchall® dip 'n etch!

Friday, March 16, 2018

Etchall/Stencil Girl Blog Hop

Hi Everyone!

Today I'm participating in a blog hop using etchall® products and a Stencil Girl stencil.

Here's the stencil that I chose from Stencil Girl.  It's Birds & Bunnies.  It's perfect for spring and Easter.

Since these stencils don't have an adhesive backing, you have to apply one.  Etchall® stencil spray works great for this.
Follow the directions on the spray to create the adhesive backing, then adhere it to the surface.  I decided to create a stenciled glass jar that I can use to hold flowers, candies or a candle.
I applied the stencil spray rather heavily to insure a good seal, then I smoothed the stencil down with the squeegee.  This stencil has finely cut pieces that have to be adhered to give the detail.

Here's how it turned out:
All the details in the stencil showed up well, but I wanted to add a little color to this bunny.  I used Rub 'n Buff in Pewter to add some color.
Bunny Jar
Here's another photo to show the bunny a little better.

And, here's a close-up:

I decided to use the small bird stencil, too.  I had a maple syrup bottle that I thought would be perfect to upcycle.
Here is the small bird stencil affixed to the bottle with etchall® stencil spray.  I used the squeegee to press the stencil down to the glass.  Then, I added masking tape around the stencil to protect the glass from stray crème.
Then, I applied the etchall® etching crème.
I waited 15 minutes, then scraped the extra crème back in the bottle to use again later.  I rinsed off the remaining crème and removed the tape and stencil.  After etching, I used Rub 'n Buff in Patina to color the etching.  Then, I tied some string around the top and added some beads.

Bird Bottle
I love how these two pieces came out.  Now, I'll be looking around for more glass - or slate, ceramic or mirror - to use the remaining stencils.  What a great combination - etchall® products and Stencil Girl stencils! 

And, there's a giveaway!  Each time you leave a comment on a blog, you get a chance to win!  Leave a comment on each blog for 23 chances (only one comment per blog).


GIVEAWAY
One lucky winner will receive an etchall® Glass Etching Bee-ginner Kit,
reposition/reuse stencil spray
AND a $25 Gift Certificate to StencilGirl Products!

Enter to win by leaving a comment below.
Then be sure to visit the other blogs in the hop and comment to win.
The more blogs you comment on, the more chances you have to WIN!
One winner will be chosen at random from all blog comments!
(One comment per blog please.)

You have until Tuesday, March 20th at 11:59PM Central Time to leave your comments.
Winner will be announced on
StencilGirl's Facebook page and etchall’s Facebook page on Wednesday, March 21.


Blog Hop Order:


Sunday, March 4, 2018

Pretty Palettes for February

Hi there!


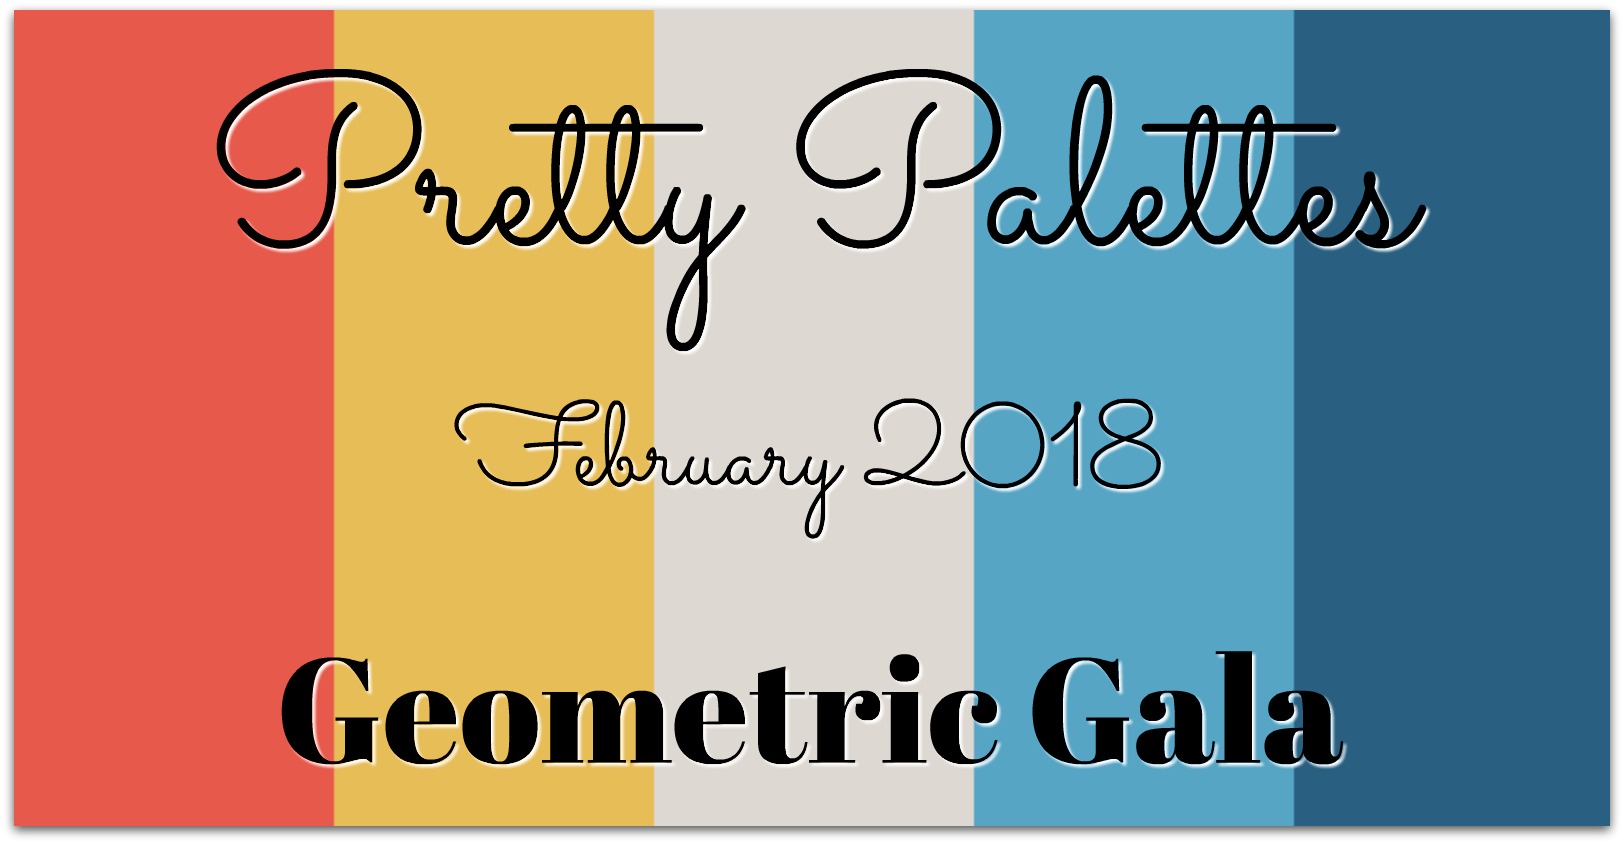
This is the inspiration for this February's Pretty Palettes challenge - recycled plastic mosaic tiles by BOPE.


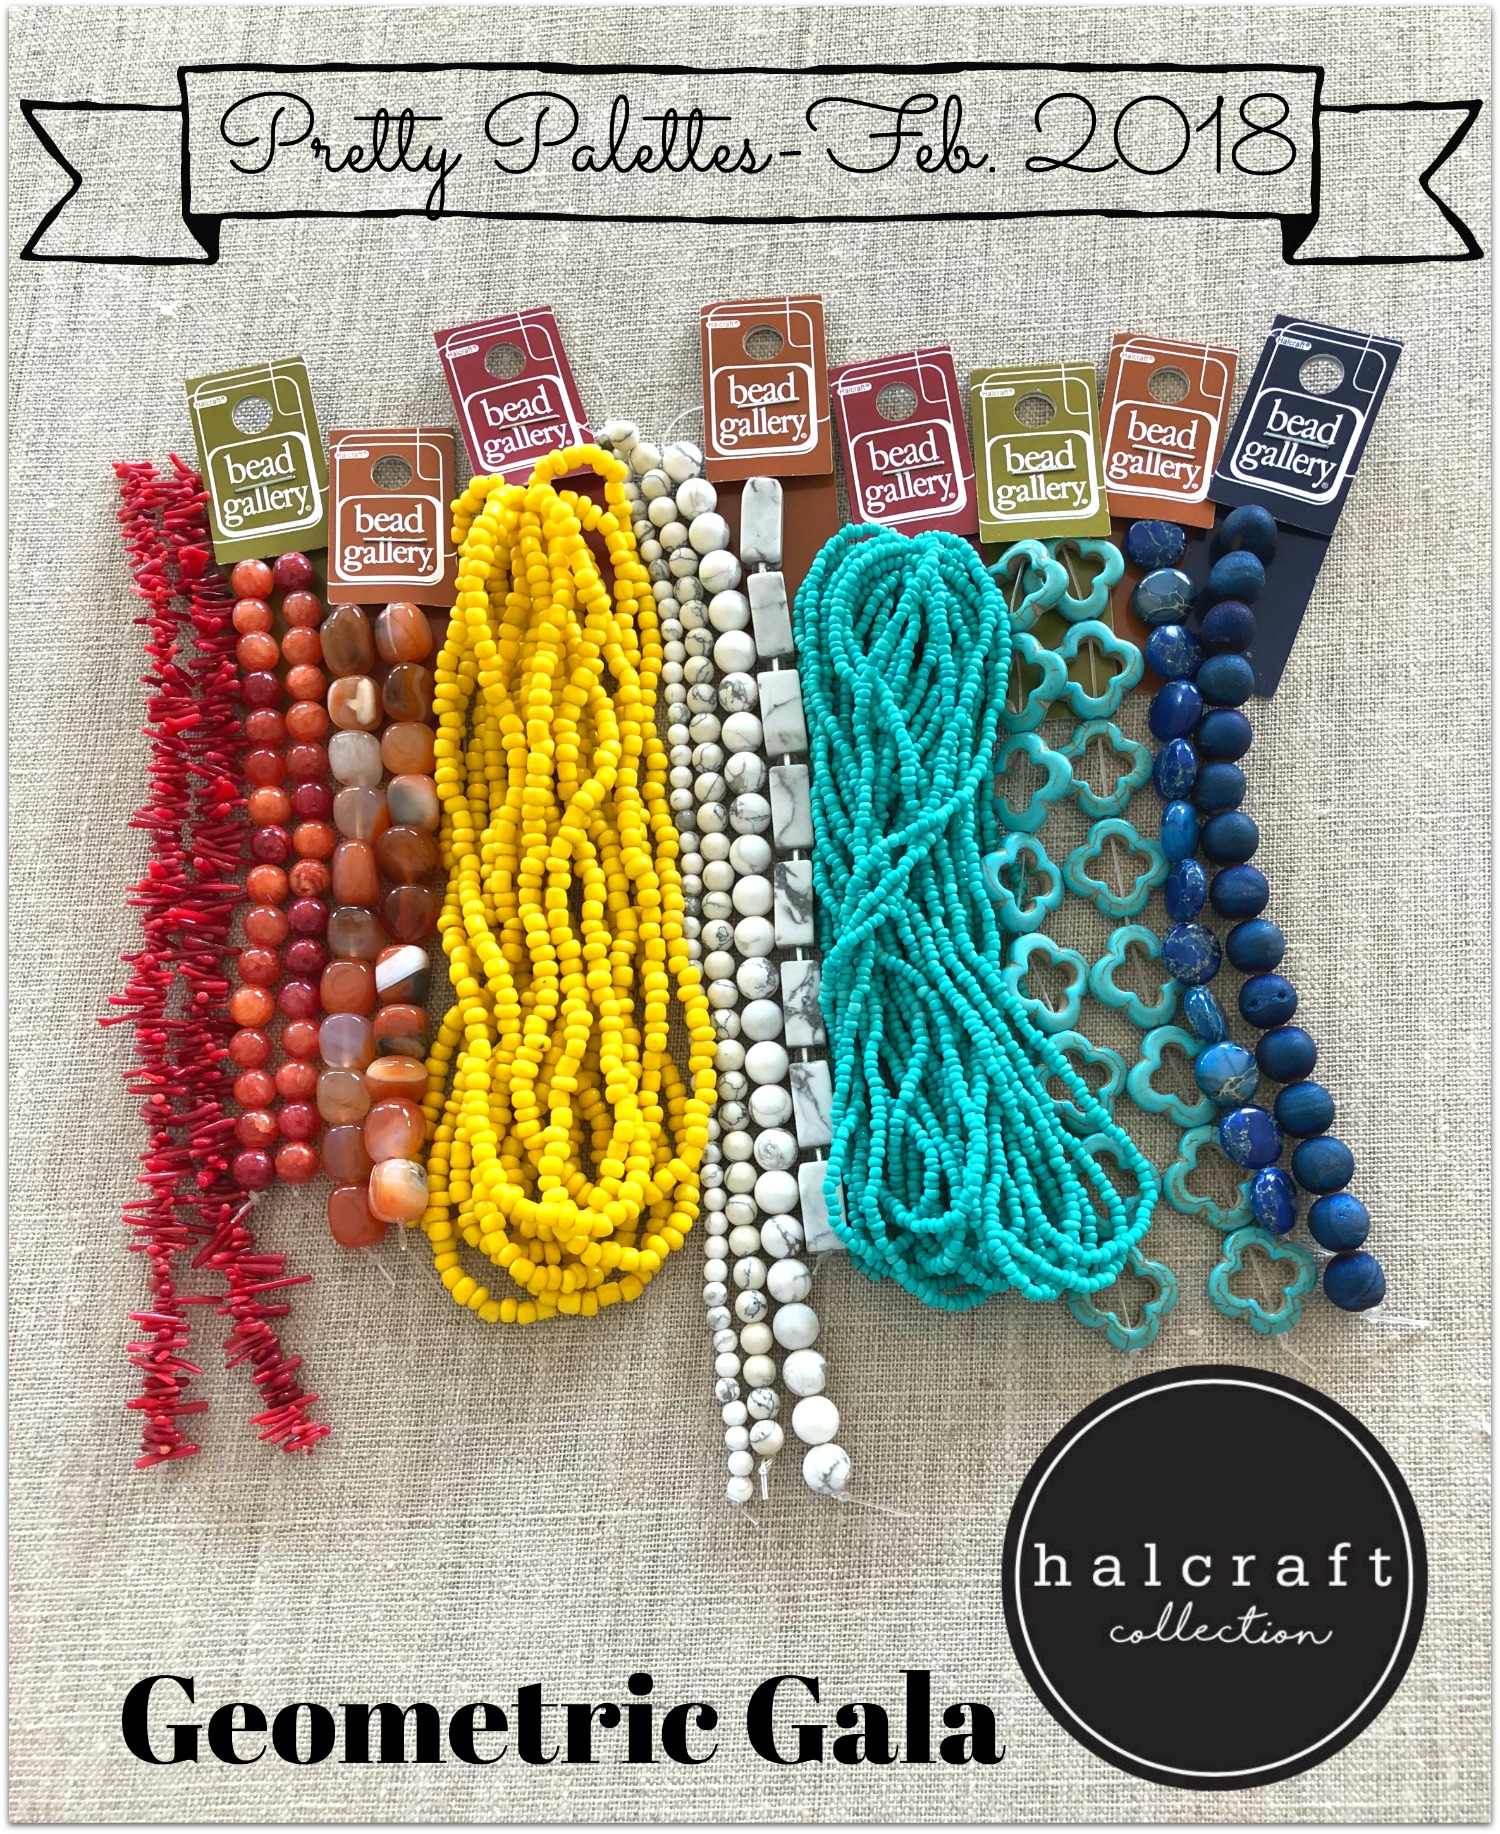
Above is the palette and below are the beads Molly Schaller chose.

I love these.  I've used some of these in previous designs - particularly the turquoise windowpanes.  In fact, I used pretty much the same selection of colors in this necklace, which was in the Fall issue of Stringing, 2014.

Here's the selection of beads I picked up at Michaels:

Molly says this collection is like a sunset beach celebration.  Having just come back from Hawaii, I'm ready to go back!  So, I'll use these to get ready for more summer celebrations.

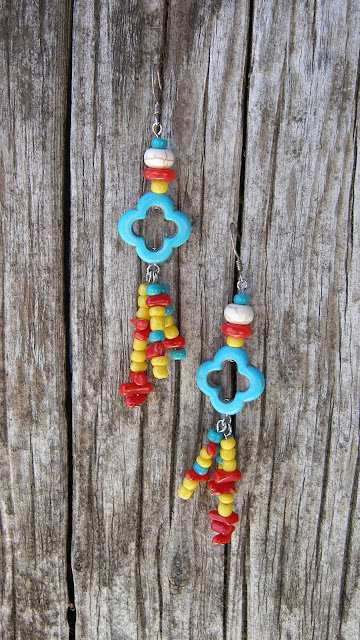
Here's what I created.  I ended up substituting some coral chips and flat rounds instead of using the dyed imperial jasper I bought.  And, the lava sea stars and white howlite rounds will be another fun summer necklace!


I'm ready for a summer fiesta now!

See the Pretty Palettes inspiration here and stop by the Halcraft Facebook page to see what other beaders have made.