 |
Daisy Memo Holder
by
Terry Ricioli
2012 |
Hi Crafters!
Welcome to another round of our Designer Crafts Connection blog hop! This month we're crafting with school supplies. In my stash, I had some colorful paper clips and push pins that I bought some time ago. They were one of those things I bought because I liked the color and thought...hmm, these would be good for something. I thought at first that I would make some fun paper clip jewelry, but I felt the need to paint something. Do you ever get that feeling? Well, anyway, I came up with this Daisy Memo Holder. It's a little crazy, but it makes me smile! It will brighten up the corner of my desk and keep those sticky notes in some kind or order!
For this craft, you'll need:
A Styrofoam(TM) ball (I used a 5" ball, but you could use a smaller one.)
A terra cotta pot, 5"
A dowel, about 12" long
Large paper clips: 18 in yellow-green, 16 in magenta
Push pins, assorted
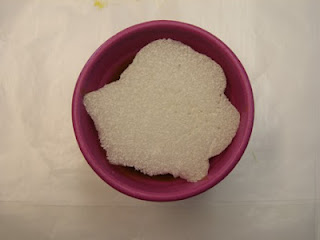
Extra pieces of foam to stuff in the pot
Something to cover the foam in the pot
Acrylic paint in colors of your choice
Tools: foam brush, glue gun and glue
1. Start by painting the foam ball, the pot and the dowel. Stick the dowel in the ball and hold it to paint the ball. The dowel doesn't need paint on the ends, so you can hold onto one end while you paint it. Here are the painted pieces:
Now, let the paint dry. (This is the hard part!)
2. Push the dowel into the foam ball. Wedge scrap foam pieces into the pot and push the dowel into the foam.
3. Starting at the dowel, push a paper clip into the foam with the loops out. On the opposite side, at the top of the ball, push in another paper clip. Halfway between these on both sides, push in two more paper clips. Continue filling in with that color. Now push in the second row in front of the first. These will fit in between the clips in the first row. Here's a close-up of the pattern:
4. Cover the foam in the pot with tissue paper, shredded paper or, as I did, with a piece of mesh bag. Glue it in with hot glue or other craft glue. Glue two yellow paper clips to the dowel for leaves on the daisy.
5. Push a few pins into the daisy and a few more into the foam around the daisy.
I hope you have fun creating this. Do change the pattern to suit your own ideas and what you have on hand.
Happy Crafting!
Terry


