Hi Everyone!
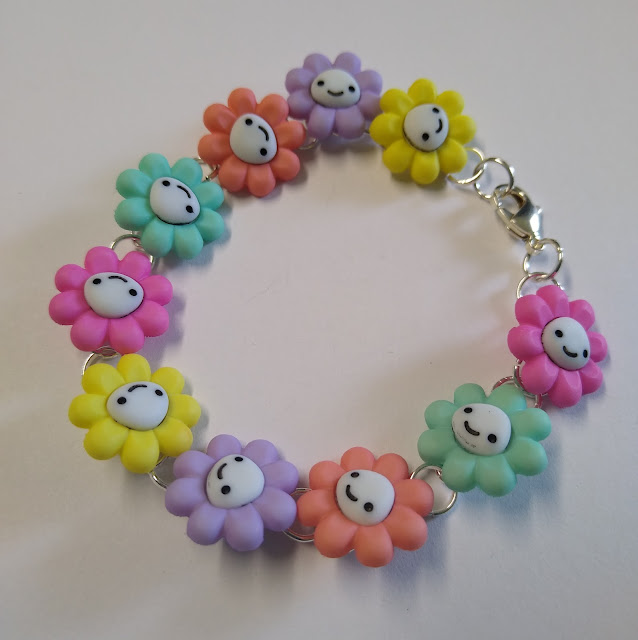
Today I'll show you how to make a button chain bracelet with some super cute flower buttons. These button are from Dress It Up and are called Happy Little Flowers.
You'll need the buttons, 6mm jump rings and a clasp. The tools needed are two pairs of pliers - needle nose or flat-nose work best.
To open jump rings, grasp each side of the jump ring with pliers with the cut in the ring facing up. Twist your pliers to open. To close the jump ring, grasp the sides again and twist back to the closed position. You should hear a small click as it goes back into place.
First, open all your jump rings. This bracelet can be adjusted in size easily by subtracting or adding more buttons. For an 8" bracelet, you'll need 33 jump rings.
Next, add two jump rings to each flower. I used 10 flowers for the 8" bracelet.
Once you have done this for each flower, connect them with jump rings. To add more stability to the chain, you can add another jump rings alongside the first.
Add two more jump rings to one end. To the other end, add two jump rings, and before closing, slide on the clasp. I used a small lobster clasp. Here's the back of the bracelet to show the rings.
And, here's the finished bracelet.
Doesn't that just make you smile! I know all my granddaughters will want one. And, it's a great project for them to learn how to use jump rings. What buttons will you use for your bracelet?
Thanks to Dress It Up buttons for sending me supplies to use in my designs. Stop by their site and see the amazing array of buttons.
And, for a little companion piece, try these Happy Little Flower earrings.


