Pages

Wednesday, September 28, 2016

Frankenstein Lantern

Hi Crafters!

It's time for some Halloween fun with etchall®!  I had some square vases that I thought would work well for some Halloween characters, especially one who has a square-ish head - Frankenstein! (Or, Frankenstein's monster if you want to get technical!)

This Frankenstein lantern can light up the night on your porch or table.  And, etchall® makes it so easy to create because the etched surface of the glass creates a surface to which the paint can adhere.

Here's how I did it.  The vase:

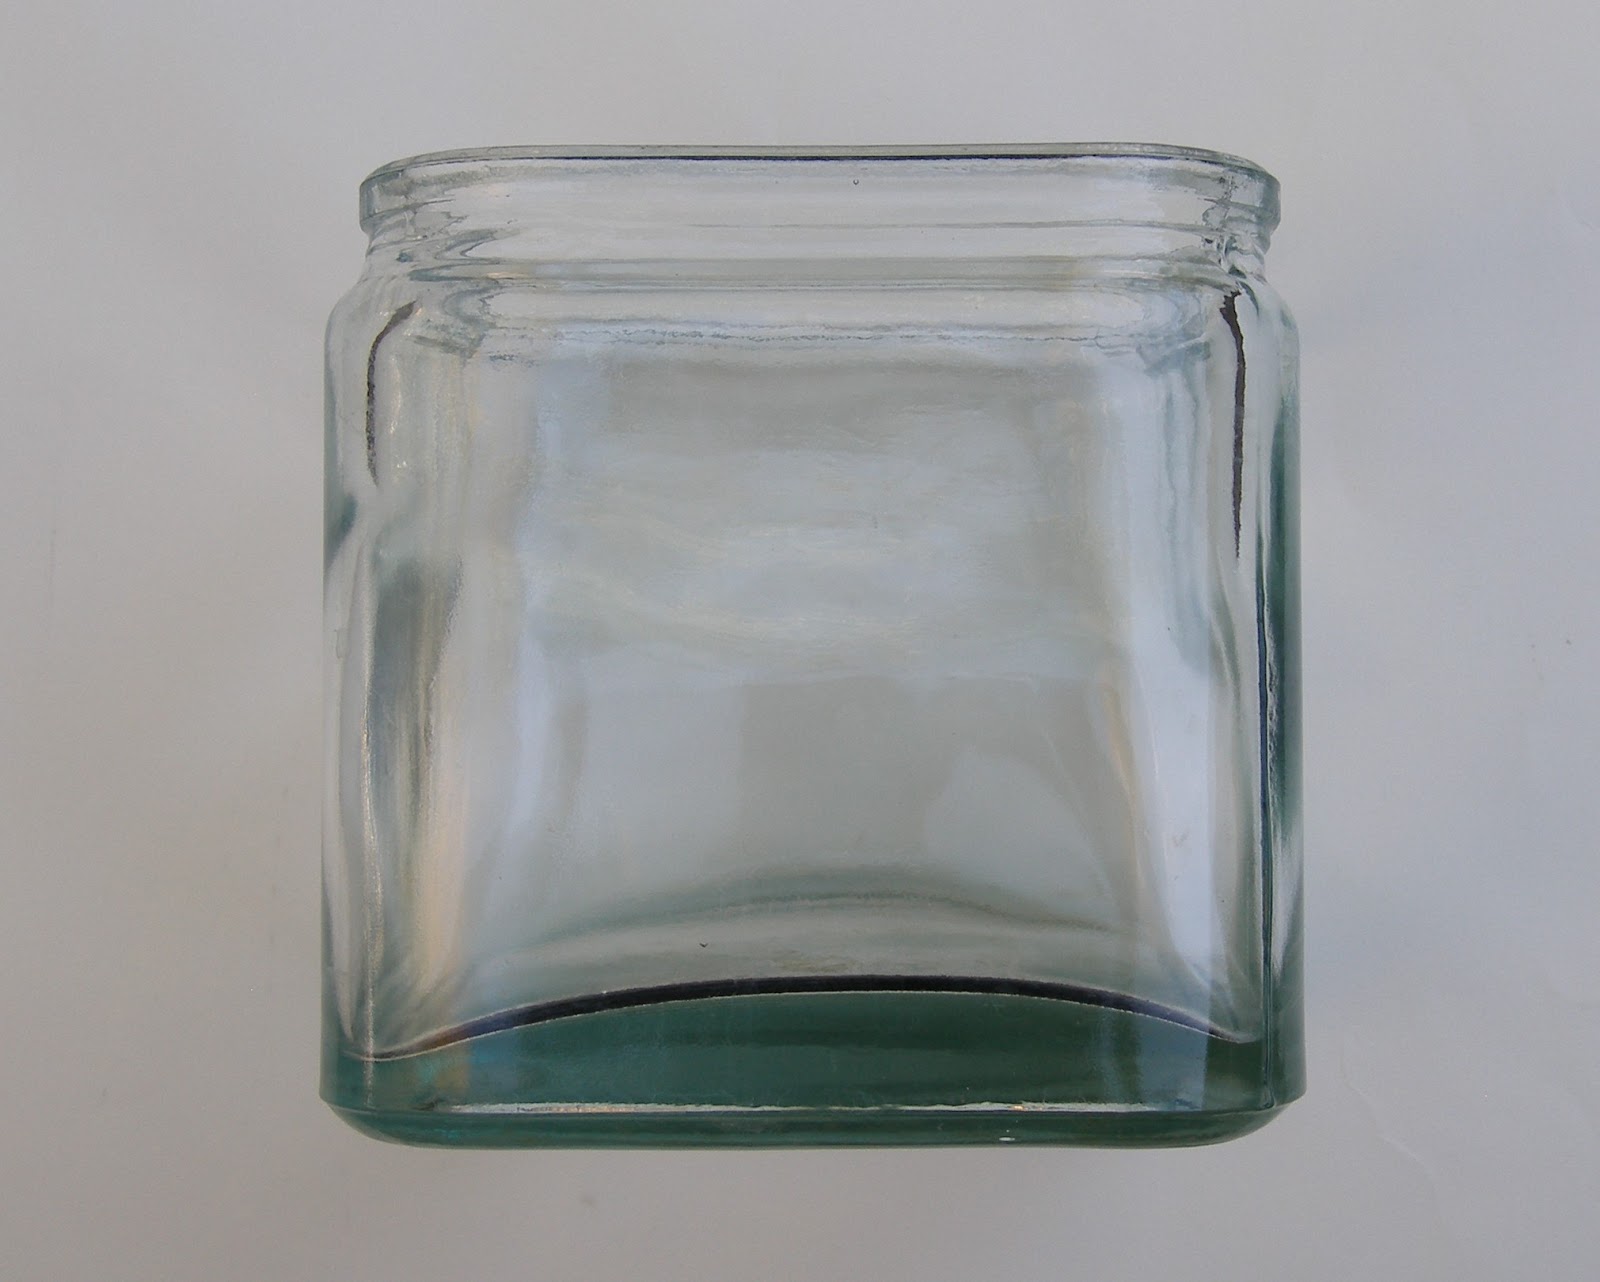
I etched each side with etchall® etching crème.  You can see that my crème has aged to a caramel color.  It still works fine.  Follow the directions on the bottle and let it sit for 15 minutes.  Then, scrape off the crème and put it back in the bottle - it's reusable!


Here it is after etching ready for painting.

After etching, I painted it with a transparent golden green paint.
It's a perfect color for the Frankenstein monster.

Then I painted the hair and eyes.  I added lines for the nose, mouth and scars with a black pen.
Frankenstein Lantern
Here's a side view:

I looked around the house and my craft room for something that would work for the bolts on the side of his head.  After a hunt around the kitchen, I found the perfect thing - a cork, which I cut in half and painted black.  I glued them to the side of the vase with gem glue.

Add a tea light inside the lantern, and you are ready to go!  Or, fill him with candy for those trick-or-treaters!

Need more ideas? How about a Jack O' Lantern?  Or, a scarecrow?  Try a few different jar shapes and group them together for a fun Halloween display!  Don't forget your etchall!

Tuesday, September 20, 2016

Gel Press Blog Hop

Hi everyone,
Today I'm part of a blog hop where we are using Gel Press printing plates to create prints.  This is a product new to me, and I'm having a lot of fun trying it out.

I received a 5x7 plate, which is a great size for card making or mixed media.It took a few tries to figure out how much paint to spread on the plate.  At first, I used too much paint.  The next time, my paint dried up before I could print.  It was a warm night.  The next day, things went better. 

Here's one I created in a fall theme.  I used three colors of acrylic paint (red, yellow and orange) and some leaf stamps.  I can see making place cards for fall dinners with this method.
Leaf Stamps
Here's another print.  This time I used a birdcage stencil.  I put down a layer of blue acrylic paint.  I laid the stencil on one side and used a sponge brush to add white paint around and through the stencil.  I think I'll go back to this and add some definition with pens.
Birdcage Stencil
Then, I decided to try bubble wrap pressed into the paint.  This would make a great background for a couple of tropical fish.
Bubble Wrap
And, I found in my experimentation that nothing needs to go to waste.  Some of the prints I made with gaps or too much paint made perfectly nice fall leaves when run through the die cutter.  And, these leaves are great everywhere!
Fall Leaves
Thanks, Gel Press!  I really enjoyed playing with your reusable gel printing plate.  Can't wait to try more ideas!

Saturday, September 17, 2016

Fall Doorhanger

Hi Crafty Friends!

It's almost fall, and one of my favorite seasons for decorating the house.  You can't beat the array of colors - rich reds, brilliant yellows and warm oranges along the comfy shades of brown.

Here's a project that I created for JOY using their iron-on letters.  For all the instructions, head on over to the Creating With Joy blog.  These particular letters come with an adhesive backing so that they stay in place when you iron them onto fabric.  But, for this craft, I used the adhesive without ironing.  It's really quick and easy!

Fall Doorhanger
I want to mention one of the techniques that I used for this sign.  I used a watercolor look, but the watercolors that I used are Rit dyes!  I painted the canvases with Rit® dye in Tan.  Then, I added some color in the middle and around the edges with Cocoa Brown.  I dipped the letters in Tangerine and dabbed some of the brown here and there on the letters.

This is a great way to color your JOY letters - just dip and dry.  And, Rit® dyes come in just about every color imaginable!  And, you can mix them to create more shades!

Have fun creating with fall colors, JOY letters and Rit® dye!