Hi crafty friends!
Sometimes, life doesn't go as planned. A few weeks ago, I became part of a new design team with ColoriQue, and I was super excited about it. Here was my first post - an upcycled tassel.
I had so much fun creating this tassel from my husband's old jeans and shirts, leftover bits from my sewing basket and a few beads. ColoriQue works so well in coloring the thimble and the other bits like the buttons, snaps and safety pins. I really like that I can use old clothing in a new way. Think of all the old clothes that you can upcycle - I think one from scraps from dresses my kids wore would be a great memory piece - even better than a quilt!
Unfortunately, the design team has dissolved due to the illness of the designer and creator of ColoriQue. Praying for a return to good health for you, Lisa! Since I was already halfway through my post for the next month, I decided to complete it and post it here.
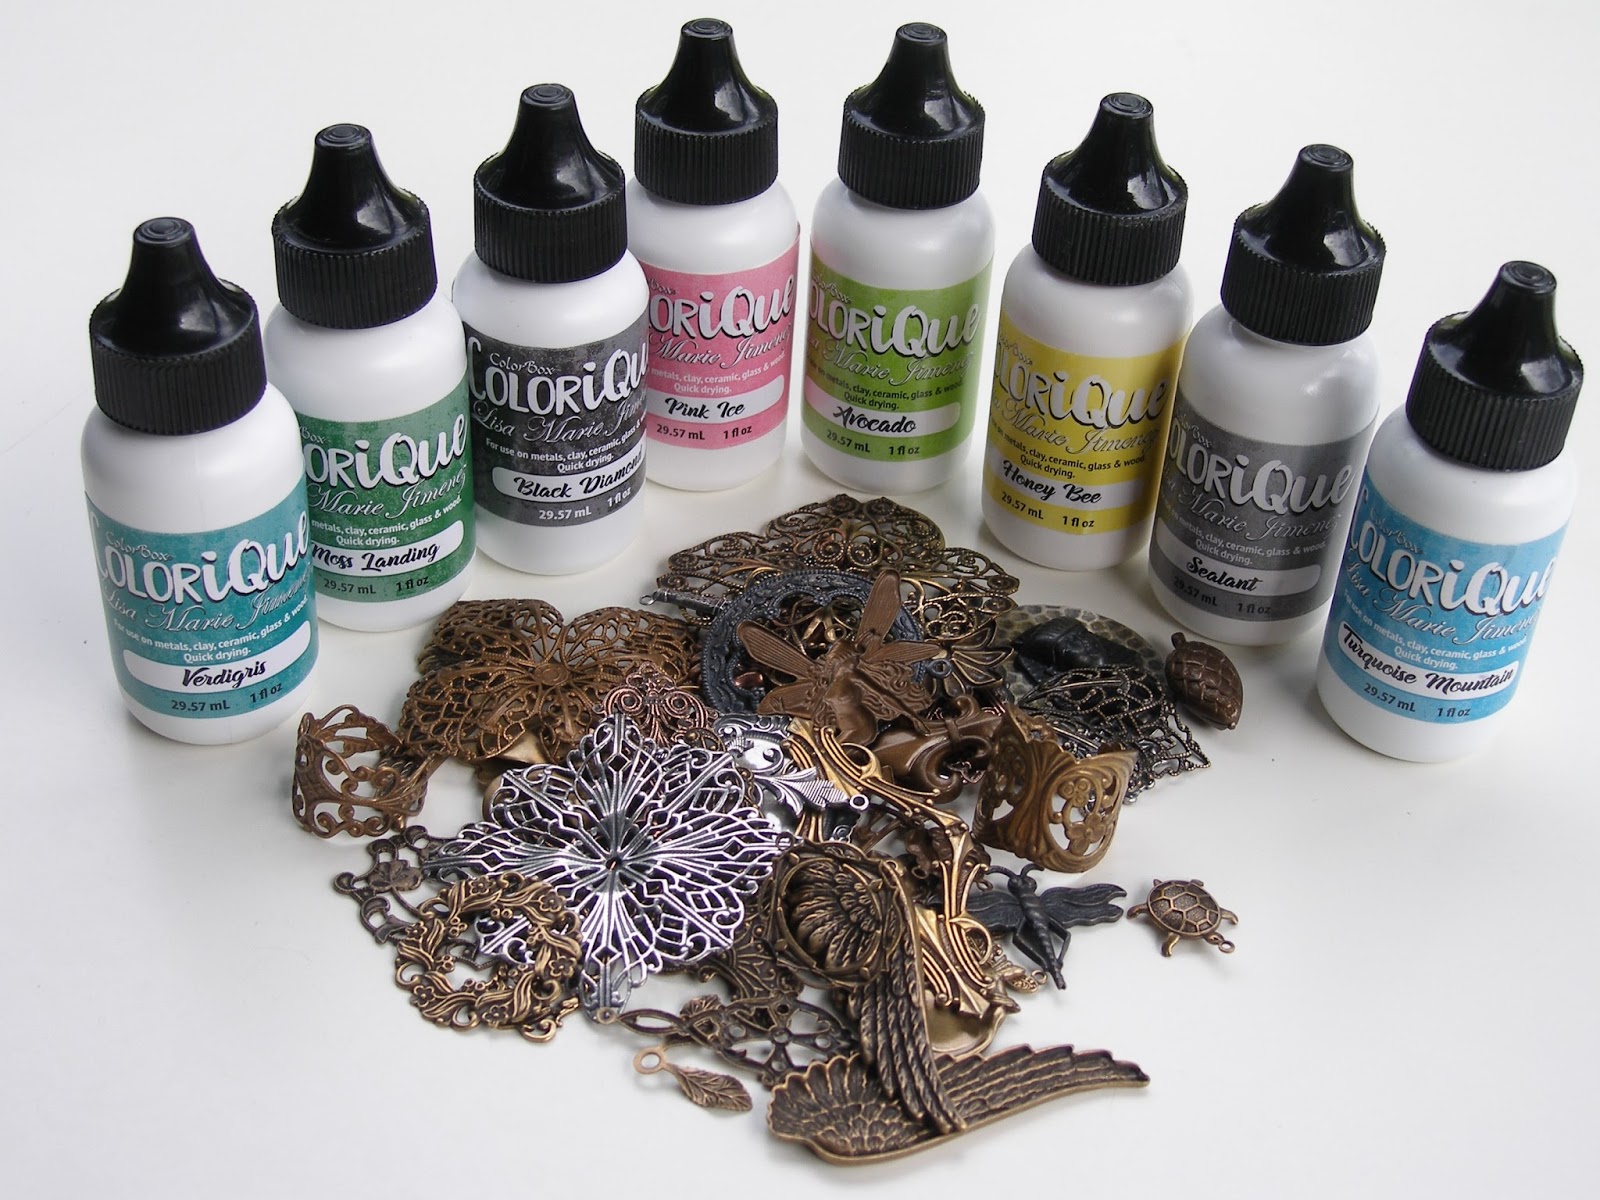
The theme this month was weddings and I created bridesmaid jewelry. I chose some acrylic roses and some silver leaves that I found at the craft store to color with the ColoriQue inks. The silver leaves were part of this headband.
I took them apart.
Since there is a lot of dimension in the leaves, they will be perfect for multiple layers of ink.
I brushed on Verdigris first, then buffed off a little of the color. Then, I added Snow Summit and brushed the edges with Pink Ice to give them more depth and to coordinate with the roses.
I colored the cream acrylic roses with Pink Ice. It gave them a beautiful enamel-like look. Yes, it works on acrylic, too.
Here are the earrings and pendant I created. Each rose and leaf hangs from a jump ring attached to the earring wire for a swingy earring. A beaded dangle completes the earring.
The necklace is the same set hung from a chain. Perfect for a summer garden wedding!
ColoriQue is available through Lisa's site for awhile, then through the Clearsnap site. It's great to work with - it blends easily to create a whole range of colors, has intense pigment and a little goes a long way! I certainly will continue to use it in my design and artwork and will miss working with Lisa and all the design team.
Showing posts with label Lisa Marie Jimenez. Show all posts
Thursday, May 17, 2018
Monday, April 9, 2018
A new design team!
Hi Everyone!
I'm excited to let you know that I'm now part of the ColoriQue Design Team. And, I will be designing jewelry!!
Here is the Rockin' Design Team:

And, here is the Rockin' Promotion Team:

Read more about all the members of the design teams on the blog. They are an amazingly talented group and I am excited to see what they will create.
Here are a few of the colors and metals I received as part of the design team.
These are not all of the colors, but I already had some and have used it in a couple of my jewelry designs - here and here.
The team's first challenge will be to upcycle an object to use in their design. Watch for the new designs in May on the Lisa's blog.
Happy Creating!
Terry
Saturday, October 7, 2017
Adventures in Metalworking
Hi there!
Thanks for stopping by. Today I'm sharing a work in progress in the area of metalworking. It's an area that I've used a little in my designs, and this year I've made a commitment to learning some new techniques.
Here's a heart and wings that I was working on yesterday:
I used some textured "tin" that I had and cut out the pieces with metal snips. Then I put them through a cool device to create the ripples - a tube wringer. (This idea came from a class I took from Susan Lenart Kazmer.) You can see more of what I made in her class here.
I added some color to the heart with ColoriqQue by Lisa Marie Jimenez in Ruby Slippers. Then, I added some white acrylic paint dabs on the heart and wings with a paper towel.
Now, to put it together and decide what it's going to be! Since I'm not up to soldering yet, I will probably rivet the heart to the wings.
On to the next stage! What creative adventure are you on today?
Thanks for stopping by. Today I'm sharing a work in progress in the area of metalworking. It's an area that I've used a little in my designs, and this year I've made a commitment to learning some new techniques.
Here's a heart and wings that I was working on yesterday:
Heart with Wings |
I added some color to the heart with ColoriqQue by Lisa Marie Jimenez in Ruby Slippers. Then, I added some white acrylic paint dabs on the heart and wings with a paper towel.
Now, to put it together and decide what it's going to be! Since I'm not up to soldering yet, I will probably rivet the heart to the wings.
On to the next stage! What creative adventure are you on today?
Subscribe to:
Posts (Atom)