Pages

Showing posts with label ColoriQue. Show all posts

Friday, August 3, 2018

Summertime Projects with Joy Iron-on Letters

Hi Everyone!

Hope you are having a great summer!

Here are my projects for the last three months using the iron-on letters from Joy.  All the instructions can be found on the Creating with Joy blog , where you will find my projects and those from the rest of the fabulous design team.

We spend a lot of time outside around the barbecue during the summer, so I created projects for the patio.  This is a quick and easy burlap pillow that is great for any of the patriotic holidays or just everyday.  It's so easy even the kids will enjoy it.  Make it patriotic or use their names or any short word.


This silverware caddy uses chalk paint on the canning jars as well as distressing over the letters and the caddy and tags.  I love the distressed look on the letters.

Upcycled Gift Box
This last project is an upcycled cheese box that I did for May, but you could use it for any occasion.  It would be a great box for a small gift such as jewelry.  Joy letters are great for any occasion, and you can color them in so many ways.  Here, I used ColoriQue inks to color them.

Drop by the Creating with Joy blog and see all the other wonderful creations from our design team!

Thursday, May 17, 2018

Garden Wedding Bridesmaid Jewelry

Hi crafty friends!

Sometimes, life doesn't go as planned.  A few weeks ago, I became part of a new design team with ColoriQue, and I was super excited about it.  Here was my first post - an upcycled tassel.
I had so much fun creating this tassel from my husband's old jeans and shirts, leftover bits from my sewing basket and a few beads.  ColoriQue works so well in coloring the thimble and the other bits like the buttons, snaps and safety pins.  I really like that I can use old clothing in a new way.  Think of all the old clothes that you can upcycle - I think one from scraps from dresses my kids wore would be a great memory piece - even better than a quilt!

Unfortunately, the design team has dissolved due to the illness of the designer and creator of ColoriQue.  Praying for a return to good health for you, Lisa!  Since I was already halfway through my post for the next month, I decided to complete it and post it here.

The theme this month was weddings and I created bridesmaid jewelry.  I chose some acrylic roses and some silver leaves that I found at the craft store to color with the ColoriQue inks.  The silver leaves were part of this headband.
I took them apart.
Since there is a lot of dimension in the leaves, they will be perfect for multiple layers of ink.
I brushed on Verdigris first, then buffed off a little of the color.  Then, I added Snow Summit and brushed the edges with Pink Ice to give them more depth and to coordinate with the roses.

I colored the cream acrylic roses with Pink Ice.  It gave them a beautiful enamel-like look.  Yes, it works on acrylic, too.

Here are the earrings and pendant I created.  Each rose and leaf hangs from a jump ring attached to the earring wire for a swingy earring.  A beaded dangle completes the earring.
The necklace is the same set hung from a chain.  Perfect for a summer garden wedding!

ColoriQue is available through Lisa's site for awhile, then through the Clearsnap site.  It's great to work with - it blends easily to create a whole range of colors, has intense pigment and a little goes a long way!  I certainly will continue to use it in my design and artwork and will miss working with Lisa and all the design team.

Saturday, April 21, 2018

Etching and upcycling

Hi crafty people!

I'm always looking for things around the house that I can use in my etching.  I wanted something small that I could add to a mixed media piece I had in mind.  Then, I remembered some old microscope slides leftover from my science classes.  Perfect!

I found a stencil that would fit the slide and adhered it.

Then, I masked the slide around the stencil with tape.  This is an important step as even a touch of the etchall® etching crème will leave an etched spot.


After masking, I applied the etchall® etching crème.

After 15 minutes, I scraped the crème back into the jar and rinsed the slide.  Then, I removed the stencil and rinsed it again.

Here is the etched slide.  I used Rub 'n Buff in Pewter to add some color to the etching.  And, because the edges of the slide are a little rough, I decided to wrap it with some copper tape.
Etched Slide
I painted a small canvas with ColoriQue pigment inks using Pacific Ocean, Snow Summit and Frisco Bay.
I added some comets, stars and a swirl with a white paint pen to give it a night sky appearance.  I also added some Frisco Bay and Pacific Ocean to the copper tape around the edge of the slide.  Then, I glued the slide to the center of the canvas.

I added some eye screws to the top and tied on some yarn for hanging.  And, I added a few more white dots with, of all things, an old white-out pen.  How's that for upcycling!
Dream Canvas
It's so easy to add a message window in etched glass to your mixed media.  What will you create with etchall® etching crème?


Monday, April 9, 2018

A new design team!

Hi Everyone!

I'm excited to let you know that I'm now part of  the ColoriQue Design Team.  And, I will be designing jewelry!!

Here is the Rockin' Design Team:
Lisa Marie Jimenez Design Team 2018

And, here is the Rockin' Promotion Team:


Read more about all the members of the design teams on the blog.  They are an amazingly talented group and I am excited to see what they will create.

Here are a few of the colors and metals I received as part of the design team.
These are not all of the colors, but I already had some and have used it in a couple of my jewelry designs - here and here.

The team's first challenge will be to upcycle an object to use in their design.  Watch for the new designs in May on the Lisa's blog.
Happy Creating!
Terry

Saturday, October 7, 2017

Adventures in Metalworking

Hi there!

Thanks for stopping by.  Today I'm sharing a work in progress in the area of metalworking.  It's an area that I've used a little in my designs, and this year I've made a commitment to learning some new techniques.

Here's a heart and wings that I was working on yesterday:

Heart with Wings
I used some textured "tin" that I had and cut out the pieces with metal snips.  Then I put them through a cool device to create the ripples - a tube wringer.  (This idea came from a class I took from Susan Lenart Kazmer.)  You can see more of what I made in her class here.

I added some color to the heart with ColoriqQue by Lisa Marie Jimenez in Ruby Slippers.  Then, I added some white acrylic paint dabs on the heart and wings with a paper towel.

Now, to put it together and decide what it's going to be!  Since I'm not up to soldering yet, I will probably rivet the heart to the wings.

On to the next stage!  What creative adventure are you on today?

Sunday, October 1, 2017

Mixed Blues

Hi everyone!

This month for the Pretty Palettes inspiration, Molly picked an ombre selection of yarn for our inspiration.  This yarn fades from soft green to purple.


Here is the palette created from the yarn:


These are the beads she selected from the palette.

Since I am designing last minute (again!),  I decided to pull out beads from the piles and bins around the room.  Here's what I found - some sodalite, blue shell beads, turquoise howlite, blue quartzite and purple amethyst chips and a few blue ceramic rounds.


I didn't use the turquoise or the sodalite, but I did add some amethyst rounds and a few multi luster hematite spacers (also from the Halcraft lines).  It seemed natural to add some fiber since the inspiration was yarn, so I created a wrapped bead focal with some recycled sari ribbon and yarn and a wooden bead.

Mixed Blues

I don't often make multi-strand necklaces, but with a large focal and small chips, I needed more than one strand.  At the top of the strands, I needed a way to bring them all together.  I had some large silver cone bead caps, but they were too bright and shiny.  So, I marbled them with a two colors of some new ink samples sent to me from ColoriQue.  It's easy to create any color cap to go with your beading.

Stop over at the Pretty Palettes Reveal and see the gorgeous work from the designers that participated.  Amazing!

Thanks for stopping by!
Terry


Friday, August 4, 2017

Grape Cluster Pendant

Hi Crafty Friends,

As fall approaches, our family's thoughts turn to harvest.  We are grape growers, and this is the time of year when our crop ripens and is picked.  We watch the weather reports and the sky with increasing frequency as all farmers do.  We check the leaves for molds and test the grapes for ripeness.

So, with grapes on my mind and picking fast approaching, I decided to make a grape cluster pendant. 
Grape Cluster Pendant

To create this pendant, I am using etchall® dip 'n etch and some clear beads that I purchased at my local craft store.

I bought a variety of sizes in clear glass.  They are strung on plastic line, so I just removed the labels and taped them to the sides of a plastic container.  The tape is for me to use to lift them out of the solution.
Now, I can add the etchall® dip 'n etch to the container covering the beads. 
As you see, my etchall® dip 'n etch has darkened with time and use.  But, it still works perfectly.  After etching my beads for 15 minutes, I pulled them out and rinsed them off in running water.  Then, I returned the dip 'n etch liquid to the jar for another use.

Here are my beads after etching:
Etched Beads
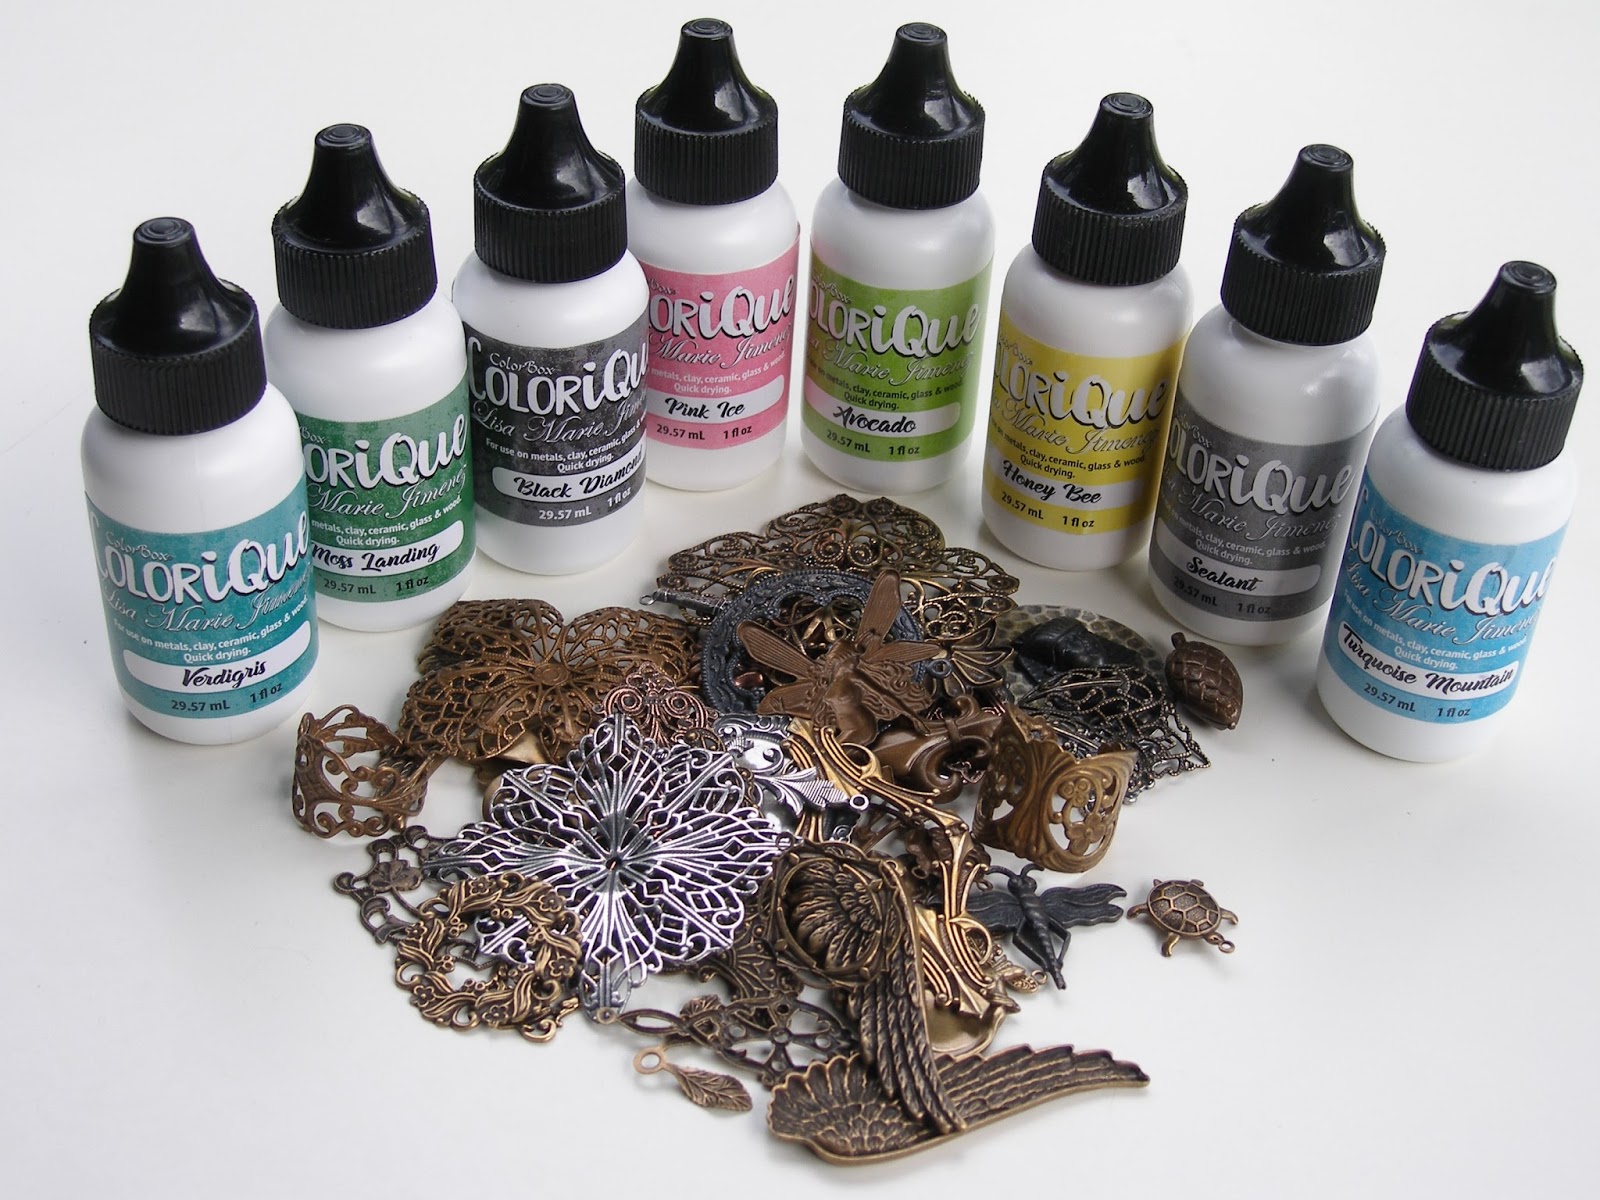
They have a matte finish now with a "tooth" that makes them easy to color with paint or ink.  Today, I'm using some of Lisa Maria Jimenez' new line of inks from Clearsnap - ColoriQue.  She recently sent me some samples that I am happy to be able to use for this, especially since she sent me the perfect color for this project - Grape Vine.
I put the etched beads in a small plastic recycled container and added a few drops of the ColoriQue.
Using the paintbrush, I rolled the beads around in the ink to coat them.  Then, I took them out of the dye, patted off the excess and heat set them according to the instructions.
Here are those clear glass beads now - wonderfully purple - and ready to turn into a bunch of grapes!

To start the pendant, I created bead dangles by sliding the beads onto brass headpins and making simple loops.  Here they are arranged along the piece of chain to which I will attach them.
You can add more or less depending on how full you want your pendant.  Generally, attach the smallest beads at the lower end of the pendant and larger near the top, but mix it up a bit to create a more realistic bunch of grapes.  Make sure your chain is large enough to attach two dangles in a link.  After arranging, open a loop on a dangle, slide it into a link and close the loop. 

Here's my pendant after attaching my dangles:
Grape Cluster Pendant
I thought it needed a couple of leaves and found some acrylic grape leaves in my beads.  They needed some definition, so I added a little ColoriQue to them with a brush.  Then I attached them with jump rings to the top of the bunch.

Grape Cluster Pendant


Etching is so easy with etchall® dip 'n etch.  Check the etchall website for the latest specials and all the supplies needed for etching.

(I am a proud member of the etchall Ambassador design team and receive compensation and product for my design use.)