Pages

Showing posts with label Beacon Felt Glue. Show all posts

Friday, February 14, 2025

Flowered Bag

 Hello! 

This month for my Gwen Studios project I created a flowered bag using their ribbons, buttons and iron-on patches.


Flowered Bag

To make this bag, you'll need the following:

A bag, canvas or burlap 

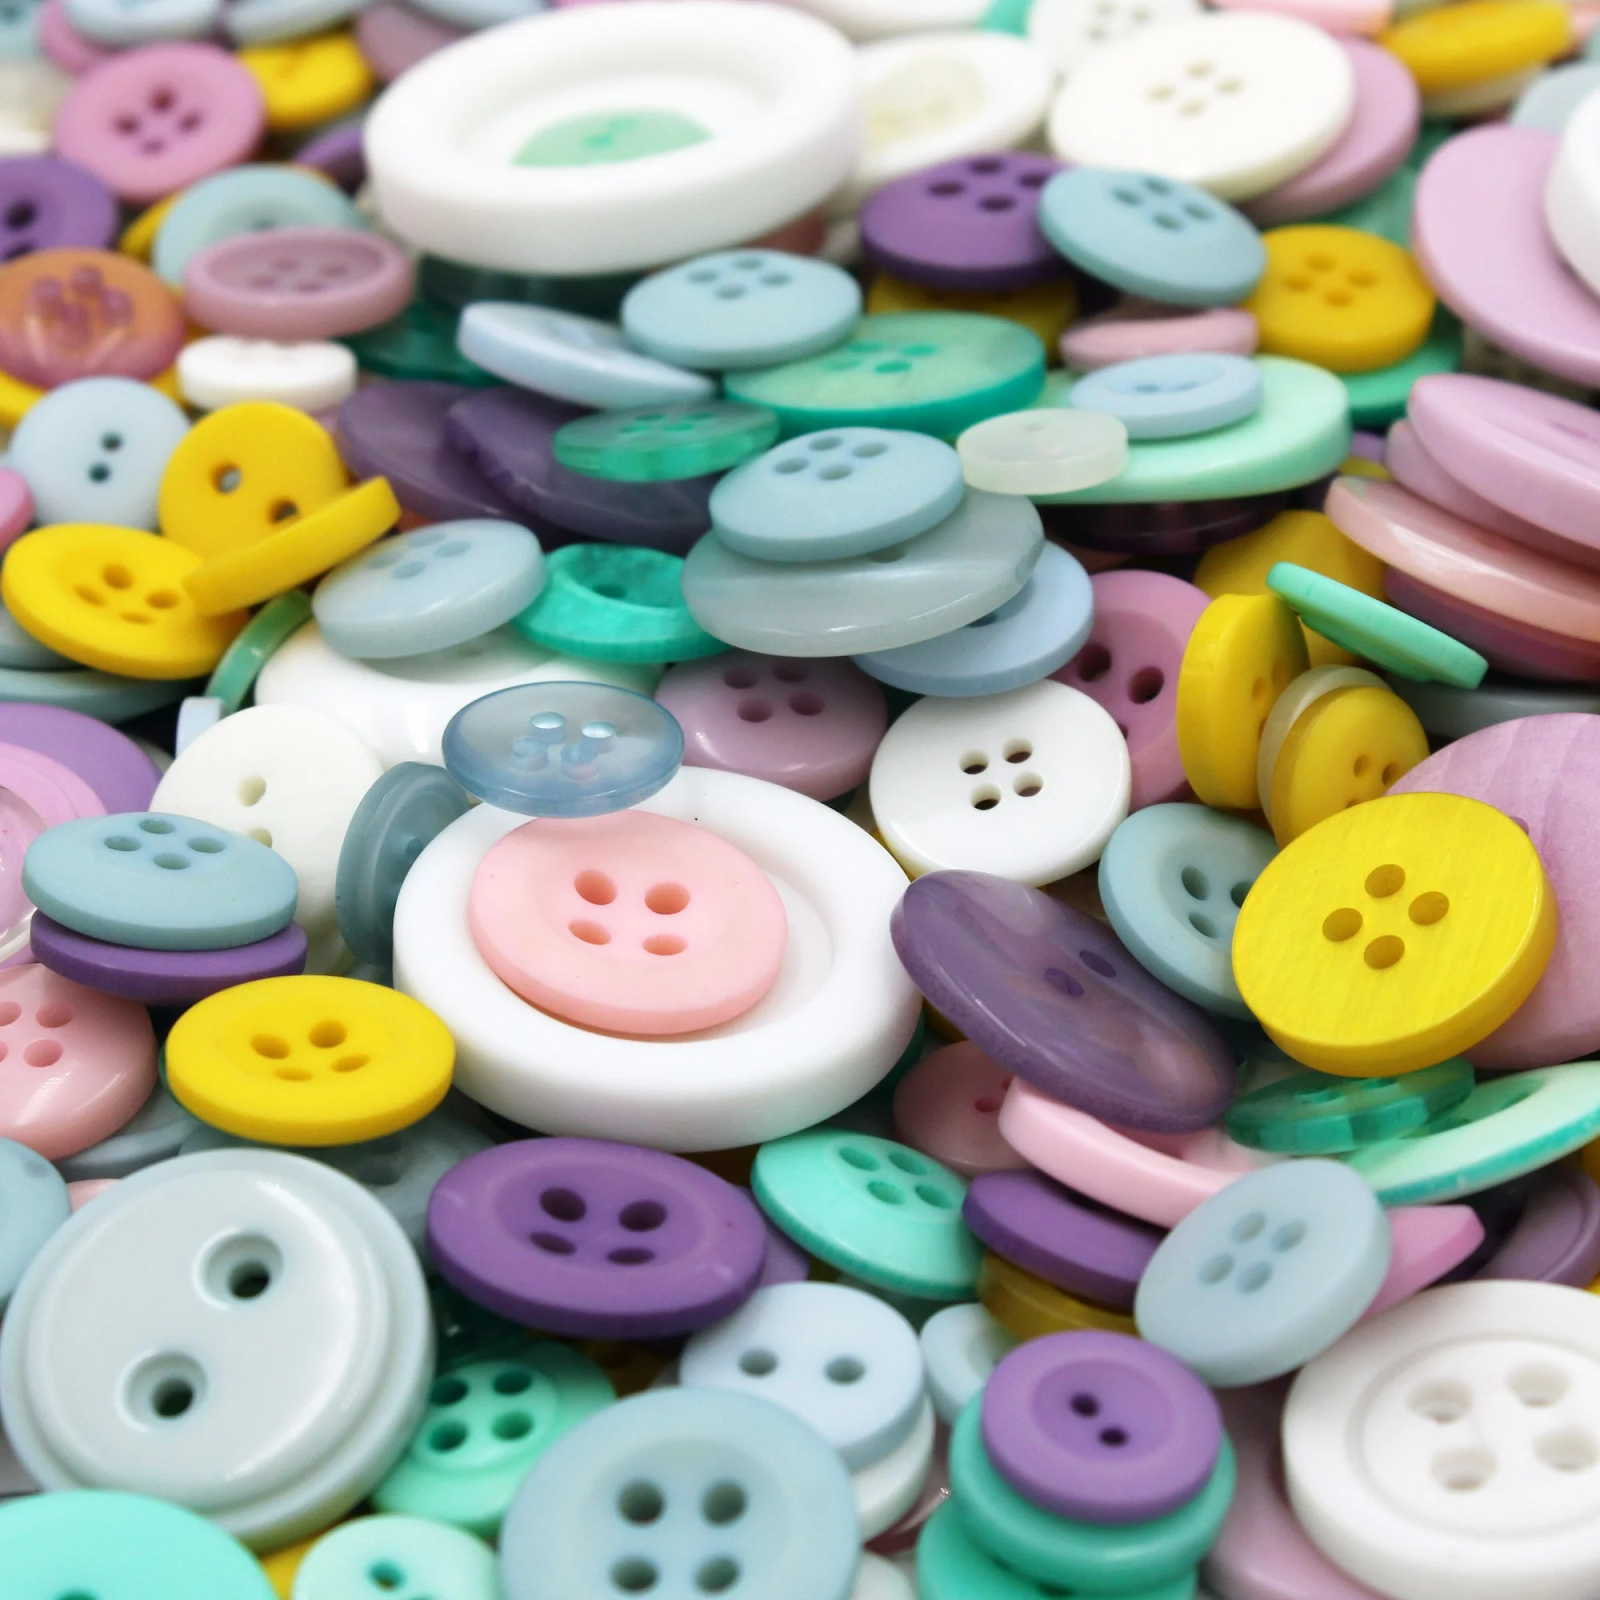
Gwen Studios 3/8" ribbon, pastel buttons, bee patches 

Hot glue, Felt Glue

The following are links to Walmart.  


For the flowers, choose your buttons.  Cut matching or contrasting ribbon in 3" pieces.  I used 8 per flower and hot-glued them to the back of the button.

I added a smaller button in the center of the larger one.  

Arrange your flowers on the bag as desired.  Mark the stems with a fabric marker if you like.


For the stems and leaves, cut green grosgrain ribbon in the lengths to fit your design.  To adhere the ribbon to the bag, I used Felt Glue from Beacon Adhesives.  

Adhere the stems first aligning them with the bottom seam.  I tucked the ends of the ribbon into the seam.  If your bag doesn't have a seam, you could fold under the end of glue some buttons over the ends.


Hot glue the flowers over the ends of the stems.  Use felt glue to adhere the leaves.  I overlapped the leaves and tucked the ends into the seam.  I left the top of the leaves unglued.

To finish, glue the bumblebees among the flowers.


Thursday, January 9, 2025

Valentine's Day Garland

 Hello Everyone!

This month I'm creating a Valentine's Garland for Gwen Studios using their ribbon and their new buttons.  It's a fun project that will brighten up your Valentine's Day. It's easy enough that everyone can make it.


You'll need:

A large sheet of stiff felt in red (Kunin Friendly Felt)

Gwen Studios Button Favorites in red and white

Tacky glue

Gwen Studios red and white Taffy Stripe ribbon


Cut the large sheet of felt (12" by 16") into 4 pieces (each 6" by 9").

On each piece, outline the letters for "LOVE" in white buttons.  I did this freehand, but you can make a pattern by writing out the letters to get the sizing as you like it.  I made the "O" in the shape of a heart.  My letters are about 3 1/2" high, but there's room to make them larger if you wish.

Glue down the first set of buttons along the letter.  After outlining the letters with white buttons, add a second layer with red and white buttons.  When you are satisfied with the look, glue these to the first layer.  


Cut eight 3" pieces of ribbon.  Fold each in half and glue the ends together.  Glue these loops on the top of the flags even with the sides and 1/2" down.

Cut a strip of ribbon about 8" long for each flag.  Glue this across the top and even with the top edge.  Fold the ends to the back and glue.

Cut two more 6"pieces of ribbon for each flag.  These will be crossed on the end of the flag as shown.  Mark the center of the bottom of the flag and cross the ribbons on that point.  Place the ribbons 2" above the corner and crossing at the center point.  Glue down and fold the ends to the back and glue.


Here are all the flags.  I was going to trim off the corners on the bottom to create a more pointed flag, but I decided I liked the look.  There are a long of possibilities for finishing the bottom edge.

Glue buttons in the top corners.


Here's the garland strung on a red bead strand.  You could use ribbon also.


Here are some links where you can find the materials I used. The buttons can be found at Walmart and the ribbon at Michaels.


For more Valentine designs using Gwen Studios ribbon and buttons check out the Designer Crafts Connection blog.


I'm a member of the Gwen Studios design team and receive product (which I love and recommend) as part of my compensation.


Tuesday, October 5, 2021

Wedding Accessories for Gwen Studios

 Hi Everyone!

I'm excited to announce that I have joined the Gwen Studios Design Team.  Now, you'll see new designs with Gwen Studios here on a regular basis.  This month we're all designing wedding items, so you'll find wearables, table decorations, albums, jewelry and other items suitable for a wedding on the blog hop.

For my designing, I received lovely coordinated fabrics, ribbons and trims.  I have always loved the combination of plum and pink.  It has a lovely old-fashioned look.

You can create accessories for your entire bridal party with these fabrics, ribbons and trims.  I have a few ideas for you here, and my fellow designers will have many more ideas to share on the blog hop.

First, I'm going to create a fascinator that would be suitable for a bridesmaid or the flower girl. To begin, I'm wrapping a headband with the 3/8" ribbon from the satin ribbon pack. 


Cut a small piece of ribbon to cover the ends of the headband to start.

Then, wrap the ribbon around the headband adding glue on the inside of the headband as you go.  Adding glue to the inside keeps any glue seepage from showing.  Finish by gluing the ends and trimming the ribbon.  I used about 6 feet of the ribbon.

To make the flower for the headband, cut teardrop shapes from the 1 1/2" ribbon.  These do not have to be perfect.  If you have a punch, you can use that, but freehand makes a more natural petal.

After you cut out your petals, use a candle flame to seal the edges.  Hold them carefully with tweezers and pass the edge of the petal just outside the flame.  The melted edge of the petal can be hot, so take care not to touch the edges before they have cooled.  You'll end up with very natural looking petals that curl into a cupped shape. (This should be done by an adult.)

For a base for the flower, cut a circle of stiff felt.  Then, starting on the outer edge, glue your petals around the circle.  I used hot glue for this.  Continue in for another row or more for a fuller flower.  

For the center, I used one of the fancy trims in Blush Pink.  I rolled up the trim, then flattened it and continued to add more in a twisted roll.  Tuck the end under and glue.  Since this trim is wired, you can continue to shape it.

Here is the finished flower:

I used the same method to create another flower for a wrist corsage.  For the wrist corsage, wrap an aluminum cuff with ribbon.  For both the fascinator and the cuff, make a tulle nest for the flower and glue it over the cuff or headband.  Glue the flower into the center of the tulle.


And, here's the cuff on my wrist.


These ribbons and trims are perfect to add bits of glam to every part of the bridal party's wardrobe.  

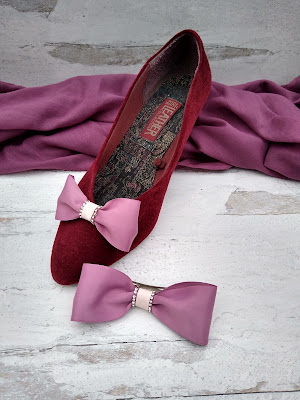
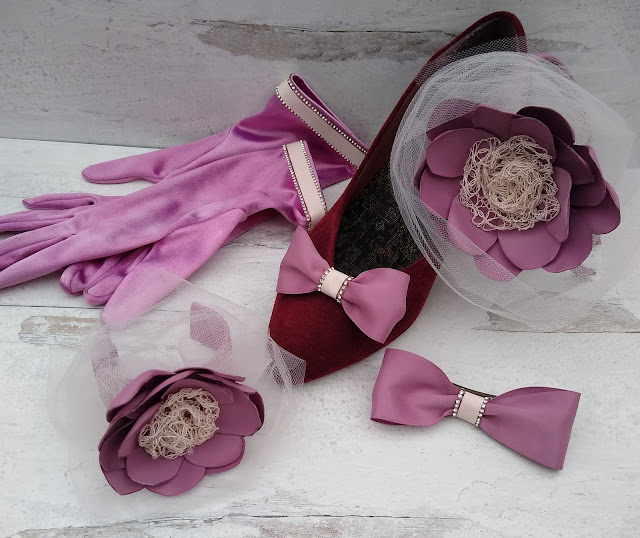
Here's an easy shoe clip.  Cut 7" of the 1/12" ribbon.  Overlap ends 1/2" and glue into a circle. I used Beacon's Felt Glue. Center overlap at the back. Let dry and wrap with a piece of trim and glue.  I used the blush pink ribbon with a rhinestone edging.  Glue onto a shoe clip finding or a clip-on earring finding.  Create a hair bow with a longer piece of ribbon (9") using the same process.  

And, for one more easy addition to the wedding attire, decorate a pair of gloves.  It's so easy to do and adds a finishing touch to your wardrobe. These gloves were purchased at JoAnn's and were white satin.  I dyed them with some Rit(R) Mauve dye and glued the same trim to the edge of the gloves.


Here's the entire set:


To find these items go to Walmart.com.  
For the Plum Satin Ribbon: www.walmart.com/ip/931106493

Follow our blog hop on the Designer Crafts Connection blog.


Sunday, August 22, 2021

Ribbon Jewelry for Gwen Studios

 Hi Folks!

Today I'm pleased to be working again with the wonderful ribbons from Gwen Studios.  


Our challenge this time is to create either a jewelry or a home decor piece.  Jewelry, of course!

Here are the ribbons I was sent for this challenge:


I love this selection of animal and snakeskin prints.  They are perfect for late summer and into fall.  

I had some wooden bangle forms and decided to wrap them with the brown animal print and snakeskin ribbons.  It was so easy and quick!  And, I'm sure that everyone from children to seniors will want to make and wear them.  

Here are the bangles:

Ribbon-wrapped Bangles


I used a Felt Glue from Beacon to adhere the ribbon to the wooden bangle to start the wrapping.  It was perfect for this project.  You could also use a tacky glue.  

For the wider bangle (1" wide), it took the whole reel of ribbon (9 ft.).  For the narrower bangle(3/8" wide), it took about half the reel (4 1/2 ft.).

I added glue to the end of the ribbon and glued it on the inside of the bangle.  To finish, just add glue to the end of the ribbon and end on the inside of the bangle.  These are very easy and simple, but you could add a wire wrap and beads over the top of the ribbon also.

I also made a cuff with the elegant black and silver ribbon.  I used an aluminum cuff and glued a small piece of ribbon over each end to cover the edges.  I used clothespins to hold the ribbon in place while it dried.  Then, I wrapped the ribbon around the cuff as I did the bangles.

I also made some earrings using the same ribbon.  To make the ribbon bead, roll the ribbon around a bamboo skewer after adding glue to the end of the ribbon on the right side.  For these, I used 3" of ribbon.  Add glue under the end to finish and hold until it dries.  To create the earrings, string the ribbon beads on wire with other beads as shown.  Or. string them on thread or twine for even easier earrings.  You could also make a few of these easy beads and string them in a necklace.  So many possibilities!

Ribbon-wrapped cuff with ribbon bead earrings

I hope you'll try these easy designs.  It's so easy to create great jewelry with these beautiful ribbons from Gwen Studios.  Look for them at your local Wal-Mart.

Oh, they also sent along these super cute patches!  My granddaughters will love them!

Look for more wonderful ribbon designs on the Designer Crafts Connection blog.


Sunday, September 7, 2014

Shirt Memo Board

Hi Crafty Friends!
This week some of us on Designer Crafts Connection are participating in the manufacturer's challenge and creating with Kunin™ Felt, Buttons Galore and More buttons and Beacon™ glues.  It's a winning combination for creating fun projects.  This time our focus is on home decor. 

For a manufacturer's challenge, we designers receive free samples to create a project and showcase it on our blogs.  

When I saw the felt I received, it reminded me of menswear with gray flannel and pinstripes, so I created a memo board that looks like a man's shirt.  The Fancifelt™ and the Embossedfelt™ were perfect for this.  The Beacon Felt Glue was wonderful to use.  I've had problems with gluing felt.  This glue worked very well and had no odor, which is always a plus.  And, I always love adding buttons to any project and Buttons Galore and More has a great selection from which to choose.  A Smoothfoam™ scrapbook mount is the perfect lightweight surface to use for a memo board.

Shirt Memo Board and Pencil Holder
Here's how to make the memo board:


Shirt Memo Board

Kunin™ Felt: 

9x12 Cobblestone Smoke Embossedfelt™

9x12 White Classicfelt™

12x12 piece of white/grey chevron print Fancifelt™


12x12 Smoothfoam™ Scrapbook Mount


4 orange shirt buttons and one larger orange button (Buttons Galore & More)


Beacon™ Felt Glue


Slate Gray acrylic paint (DecoArt® Americana®)


Scissors, white sewing thread and needle, paintbrush


1.  Paint edges of Smoothfoam™ scrapbook page mount with Slate Gray.

2.  Cut a 12x12 piece of chevron print centered evenly on print.  Glue felt to Smoothfoam™. 

3.  For the collar, mark off right triangles with sides of 4” and 5” on the white felt and use a ruler to draw the triangles.  Cut out and glue along the top edge of the board overlapping in the center.  Cut white rectangles for the cuffs (2 ¼” x 3 ¼”).  Glue felt pieces to the bottom corners of the shirt front. 

4.  To create the body of the tie, make a pattern by folding a piece of printer paper in half lengthwise.  Draw a tie shape on the fold and cut out the pattern.  Unfold and check the size against the shirt front. Pin to the felt and cut out.  Cut a small oval from the felt for the knot on the tie and glue over the end of the tie.

5.  Sew thread through the buttons and glue in place on the collar points and cuffs.  Add a larger button for the tie tack.


Use the same idea on other items for your desk like a pencil holder or journal cover.

This would be a great idea for Father's Day or a man's birthday gift.

Happy Crafting!  Don't forget to use the DCC button to hop around and see the other home decor ideas! And, enter for a chance to win $100 in product from Kunin felt, Beacon Adhesives and Buttons Galore and More!


a Rafflecopter giveaway